Gif tutorial photoshop cs5 mac
Your email address will not be published.
How can we help?
As you mention this is quite a manual based approach and can see using it only for really demanding requirements. Does anybody use this website anymore?
- free spotify music recorder mac.
- Animated GIF in Photoshop CS5 - Solve Your Tech.
- age of empires rise of rome free download for mac?
- How to Create an Animated GIF in Photoshop CS5;
Seems like the last time anybody was on this website was back in But the Photoshop tutorial you are looking for could be this: Hello There. I found your blog the use of msn. That is an extremely smartly written article. I will be sure to bookmark it and return to read more of your helpful information. Thank you for the post. I will definitely comeback. Hi, Saikat nice tutorial but I couldnt get it to work.
I am using PS 7. I don't exactly recall the interface in PS7 as it was quite some while ago. But you must be using Image Ready as in the older versions, Image Ready was used to prepare the animations. You can use that. The Image Ready help file I am sure contains a simple tutorial explaining the process.
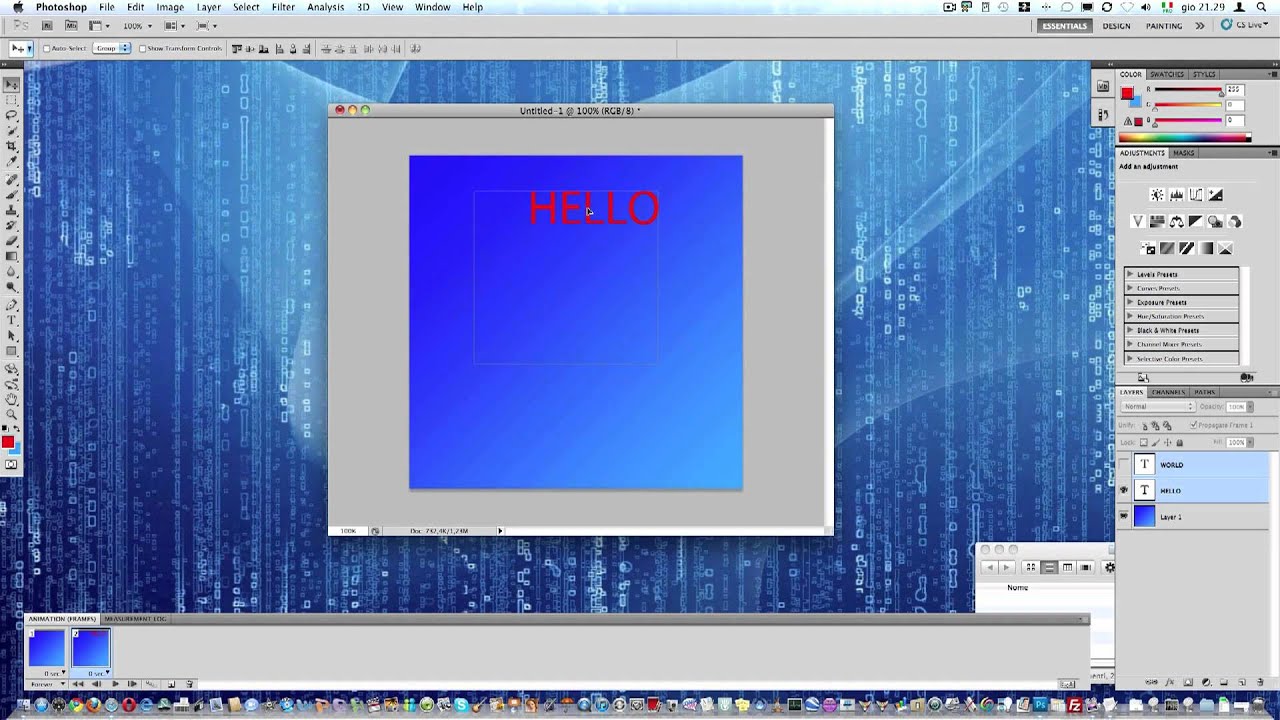
Animated GIF in Photoshop CS5
You can also Google for it. Saikat, I wish to receive makeuseof newsletters on my e-mail containing only the posts of the category 'Makeuseof Lists'.
Can you tell me how to do this? Thanks a lot. Top Deals. Email Facebook Whatsapp Pinterest Twitter. Enjoyed this article? Now you need to open the Animation window, which you can do by clicking the Window menu at the top of Photoshop, then clicking the Animation option. The Animation window will open as a horizontal window at the bottom of Photoshop.
Click the button at the top-right corner of the Animation window the button looks like a downward-facing arrow next to 4 horizontal lines , then click the Make Frames from Layers option. Repeat this step for each frame of your image. I like to choose 1.
Creating an animated Gif in Photoshop CS5 – IT Training Tips
I am using Forever as the option for the animated GIF at the end of this article, which means that the animated GIF will cycle through continually until you leave this page. Click the drop-down menu at the top-right corner of the window to choose the GIF option, then click the Save button at the bottom of the window. Type a name for your file into the File Name field, then click the Save button. You can then double-click the created image in your folder to launch the animated GIF and see what you have created.
Most of the pages on the internet include affiliate links, including some on this site.
Creating an animated Gif in Photoshop CS5
Store Categories Programs Reviews Devices. You are here: Now the Animation pane makes a little more sense where each layer is represented by an icon in Frame view giving us a better idea of how our animation will work. To test the animation, click the Play button on the bottom of the Animation pane. The animation moves extremely fast. To stop the animation, click the stop button. To duplicate an existing frame, select the frame and click the Duplicate frame button located on the bottom of the Animation pane. To move the new frame into a different location in the timeline, press and drag it and drop it where you want the new frame to sit.
You can also duplicate a series of frames at the same time by selecting all the frames using the Shift command and clicking Duplicate. Play around with the order of the frames and how many frames of each image your animated gif will contain. Frequently test the animated gif using the play function. There are a couple of different ways to set the time for each frame. You can set the time for all frames at once or each frame individually.
- gs plugin error pcsx2 mac.
- gmail outlook calendar sync mac;
- Place In Photoshop?
- binder cover templates for mac!
- Stephanie Watters Flores!
- mac sudo no valid sudoers sources found quitting.
Notice that at the bottom of each frame there is an option to set a time delay. To change the time delay, press the drop down arrow and choose a time that you feel comfortable with. Use the Play command to determine if it is too fast or too slow. Then, on any one frame, use the Time Delay drop down to choose a time. Once you have your frames in the order that you want and your time delays to where you are satisfied, there is only one more step before exporting as an animated gif.
On the bottom of the Animation pane, be sure to choose Forever under looping options. By default, Once will be chosen. To change that, press the drop down arrow and choose Forever. Do you know why? AnneMarie, My guess is that your subsequent layers have a transparent background. What can I change for them to be smoother?
Pick Your Footage
What would you suggest to make it seem like the ring is revolving around the T in this logo? The image can be found at this link: So the thinner end is always going to be behind the T as it is. Just that the ring itself should show some motion. Would I have to make some sort of marking on the circle and have it move from frame to frame? Or is there some other means without adding a blemish?