Transfer dv video to mac
Pro video editing now a reality on iOS devices. Best tax program Mac Pro in , iPhone news and rumors, Swift Playgrounds: Macworld Podcast At a Glance.
Top 4 Best Ways for Mac Users to Import MiniDV Tapes
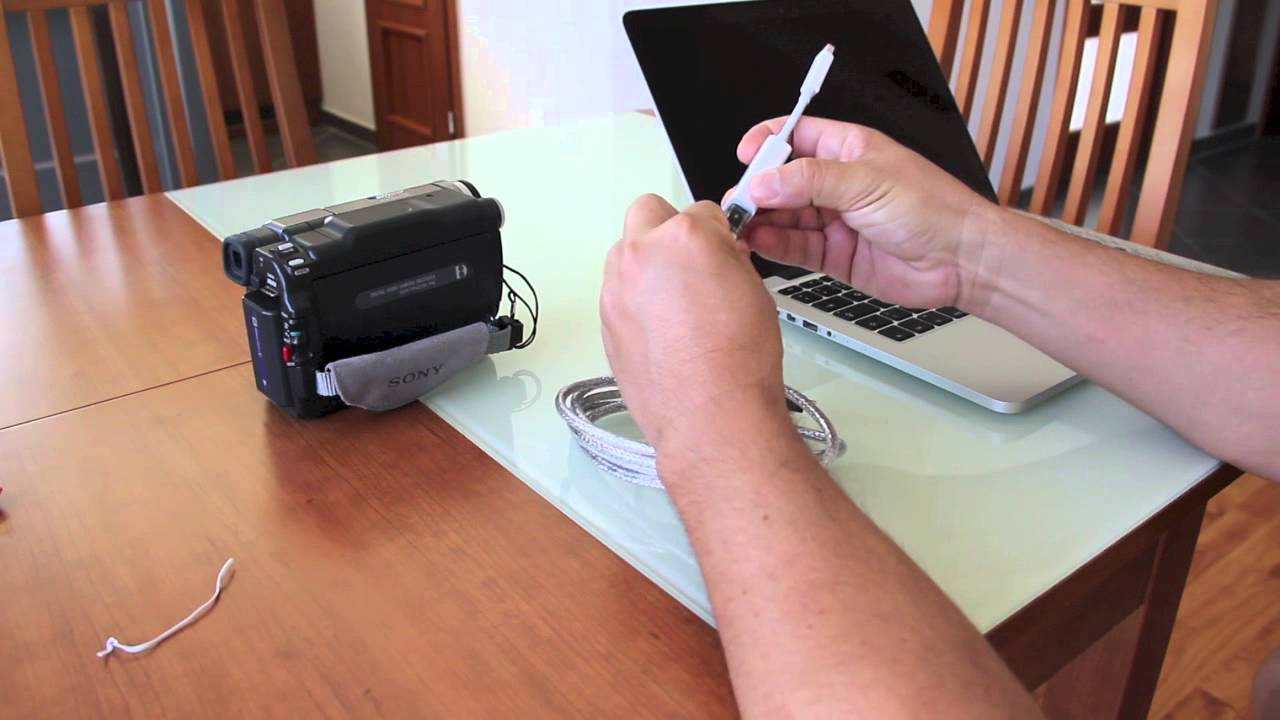
LifeFlix 2. Attach your camcorder and import the video LifeFlix streamlines the process of capturing tapes in three easy steps. Bottom line Assuming you have a working camcorder and the right adapters, LifeFlix is the quickest and easiest way to get Mini-DV tapes into your Mac.
Pros Quick one-click import from Mini-DV tapes Trim, combine individual clips into new movies Minimalist, easy to use software. Full disclosure, I'm a founder of LifeFlix , one of the recommended methods. But I don't think it's best to rank them strictly 1 through 4, rather your choice should depend on what's most important to you or what kind of user you are. Are you a technical user? Are you price sensitive? Are you less price sensitive and more time sensitive? And finally, what do you want to do with the videos? That is why I founded LifeFlix and developed a technology that makes watching those memories easy.
You decide what's best for you.
video - How do I simply import mini-DV content onto a Mac? - Ask Different
Learn more. Tape transfer services. Step 3: Step 4: Open the DCIM folder that will show all the images and videos captured by the camera. Select the desired videos that you wish to transfer, and copy them to the desired folder on your PC. Alternatively, you can even drag and drop the videos. As soon as the camera is connected and detected by PC, a prompt will appear showing the connected camera and multiple options. You can select from:. The connected camera will appear under Computer. Click the Camera icon to open the card SD card folder.
- Transferring from Mini-DV to hard drive | MacRumors Forums.
- mac os x virtual server hosting.
- Apple Footer;
- akzidenz font free download mac!
Open DCIM folder to access images and videos on your camera. You can also drag and drop the videos.
Your Answer
You can select from the above listed manual solutions to capture video from the camcorder to PC, depending upon your convenience and requirements. Using the software, you can not only add the videos but also perform an array of other features like editing videos, changing their format, transferring videos to iPhone and other devices easily. Select Add from Camcorder option.
A pop-up window will appear showing all the videos present on camera. Select the videos that you wish to transfer to Mac and then click Add To List.
- Transfer Mini DV videos to Mac.
- LifeFlix: Attach your camcorder and import the video;
- Import from a tape-based camcorder.
- is there incredimail for mac.
Under Convert all tasks to , select the format to which you need to convert the added video. Click Convert All for the conversion process to start.
Once the conversion process is complete, click Converted tab to see the list of transferred video. Click on File Location icon next to file name and the location where videos are transferred from the camera to your Mac will be shown.
4 Methods to Transfer Videos from Camera to PC/Mac Easily
To further help you with the transferring process and make it even better below listed are some useful tips. The present day camera and camcorders record high quality videos and thus if you transfer these videos to your PC, they occupy a lot of space on your PC's hard drive. Thus to save your computer hard disk space, you can either save the videos to external drive or burn them to DVD.