Install ruby on rails mac 10.7.5
Note that the command listed on the Homebrew site could change, so please make sure that what I have listed above is the same. If it isn't, please let me know and I'll update it. Copy and paste the command into your Terminal window, press return , then follow the instructions when prompted, as highlighted in the screenshot below. Note that Terminal does not provide visual feedback when you type your password. Just type it slowly and press return. If you get Your system is ready to brew , you can move on to Step 3. Otherwise, go to the Troubleshooting section to learn how to fix errors and warnings you might run into.
- Installing Ruby, Rails, and MySQL on OS X Lion.
- generic security of mac and hmac with input whitening;
- Installing Ruby, Rails, and MySQL on OS X Lion - Treehouse Blog!
- sync iphone email with mac mail;
- 6 core upgrade mac pro;
- How to install Xcode, Homebrew, Git, RVM, Ruby & Rails on Mac OS X (from Snow Leopard to Sierra)?
- niresh mac os x mavericks 10.9 iso.
Git is the version control system of choice among many web developers. With Homebrew, installing Git is as easy as this:. Since we just installed Homebrew, we could have skipped brew update , but it's a good habit to run it before installing anything with Homebrew because Homebrew is updated regularly. Run brew doctor to make sure everything is still working. If your system is ready to brew, you can move on to Step 4. I highly recommend that you turn on two-factor authentication for your GitHub account.
To see this setup in action, go to the 1: RVM stands for Ruby Version Manager, and is one of the most popular tools that allow you to install and manage multiple versions of Ruby and Rails on the same computer. RVM has come a long way since I originally published this tutorial. However, because RVM installs documentation for every gem that Rails depends on, which takes forever, I recommend disabling documentation first:. Now you can install everything with one command.
Install Ruby On Rails Mac Os · GitHub
If you're not interested in Rails, just replace --rails with --ruby in the command below:. Read the RVM installation documentation to see all the different options you can use. This will take a few minutes, and once it's done, quit and relaunch Terminal , then run this command:.
If you get rvm is a function , that means RVM was successfully installed. If not, go to the Troubleshooting section. You should get ruby 2. If you get dyld: Library not loaded: To fix it, reinstall your desired Ruby version by disabling the binary:. For Rails rails -v You should get Rails 4. To make sure your system is still ready to brew: Your machine is now set up with the basic tools for web development.
Installing Ruby on Rails in OSX 10.7.5
If you got any value out of my tutorial, I have more time-saving tips and tricks for you in my free newsletter. Once you start hacking away on your computer, you will most likely need to install more tools with Homebrew. Before you do, remember to always run brew update and brew doctor to make sure your system is still ready to brew. To upgrade your existing packages, run brew upgrade. If you installed the full Xcode package, remember that when you update it via the Mac App Store, you might also need to update the Command Line Tools via Xcode's Preferences.
If you installed the standalone CLT, I recommend checking for a new version once a month or so. If you followed this tutorial because you're interested in Rails development, I recommend visiting Daniel Kehoe's excellent RailsApps Project. This output also lets you know which version is the default and which one is the current one in use. To use a specific version 2. In many cases, Homebrew will provide helpful instructions for dealing with warnings and errors, and I usually follow those instructions.
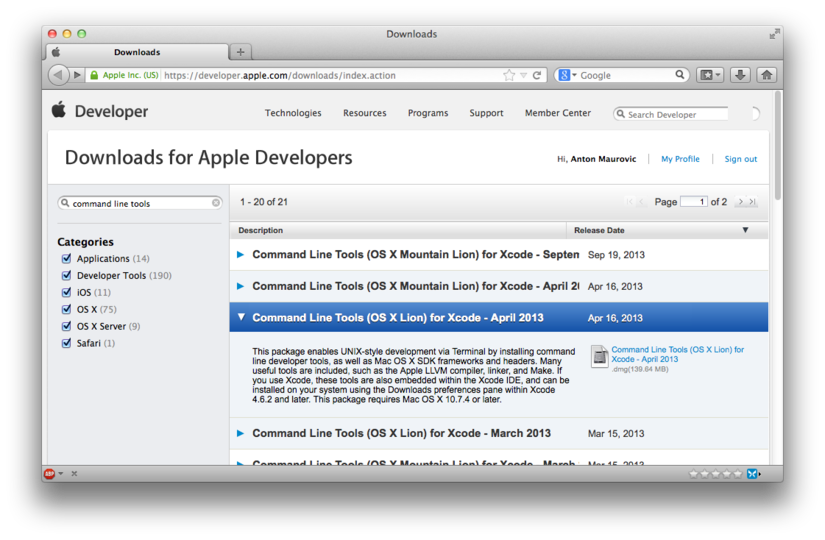
I've tried to cover the most common sources of warnings and errors. If you run into an issue I haven't mentioned, try looking it up in the Homebrew GitHub Issues , or Google the error message. Each update of the operating system or RVM also usually involves an update of the installation instructions. Xcode Installation or Upgrade. Before you start installing Ruby on Rails, you must install the latest Apple Xcode tools on your system.
Indlægsnavigation
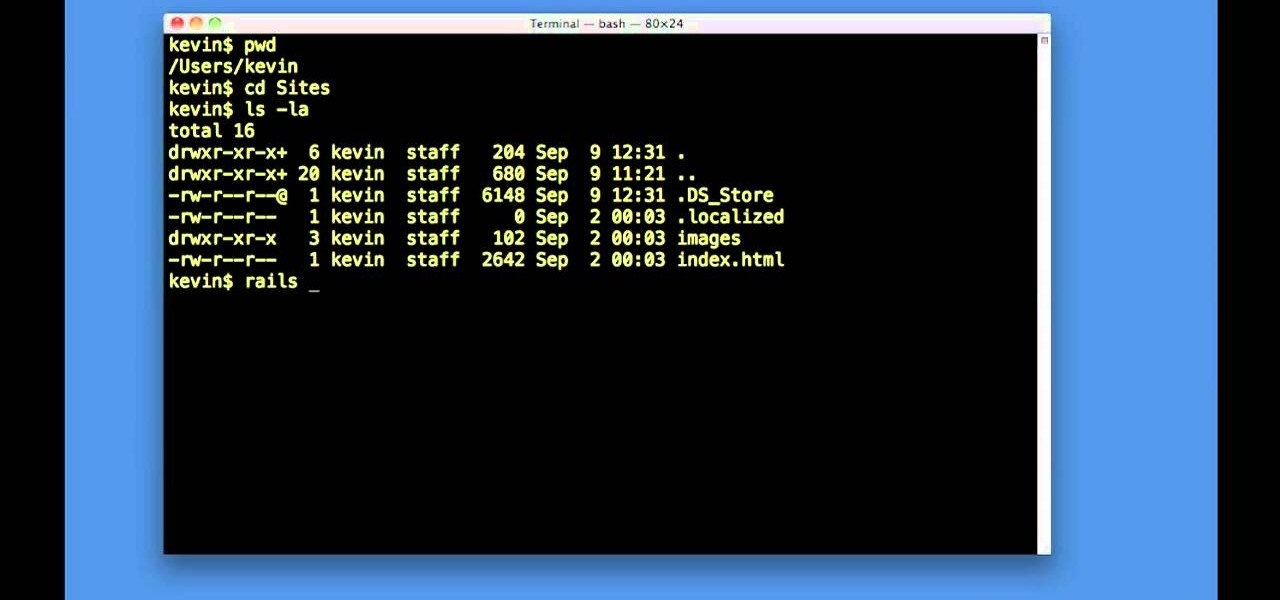
The easiest way is via the Mac App Store search for "xcode" or via the website https: Installing Ruby 1. Open a terminal with your normal user rights and check which Ruby version is installed: RVM can be installed in various ways. I recommend using the following monster command please copy it exactly that installs the latest RVM: RVM is now installed. You can now either close your terminal window and therefore your active shell or load the required parameters as follows:. To test if rvm is correctly installed, let's try calling it with -v: You probably accidentally skipped a step for example, forgot to reopen the terminal.
Note There are different interpreters for Ruby. Please read the output of RVM carefully and have a look at the companion website of this book http: You might want to give Tigerbrew a try.
- firefox download helper mac os.
- rotis sans serif font for mac.
- Install Homebrew.
I added this as an answer so you can accept it. Sign up or log in Sign up using Google. Sign up using Facebook. Sign up using Email and Password. Post as a guest Name. Email Required, but never shown. Post Your Answer Discard By clicking "Post Your Answer", you acknowledge that you have read our updated terms of service , privacy policy and cookie policy , and that your continued use of the website is subject to these policies.
Linked 1. Related Hot Network Questions. Stack Overflow works best with JavaScript enabled.