Mac mini 2012 add 2nd hard drive
Identify your Mac. Item code: B-Stock parts have minor cosmetic wear. C-Stock parts have major cosmetic wear but are fully functional. We'll send a message when the product is back in stock. We don't have that much stock available.
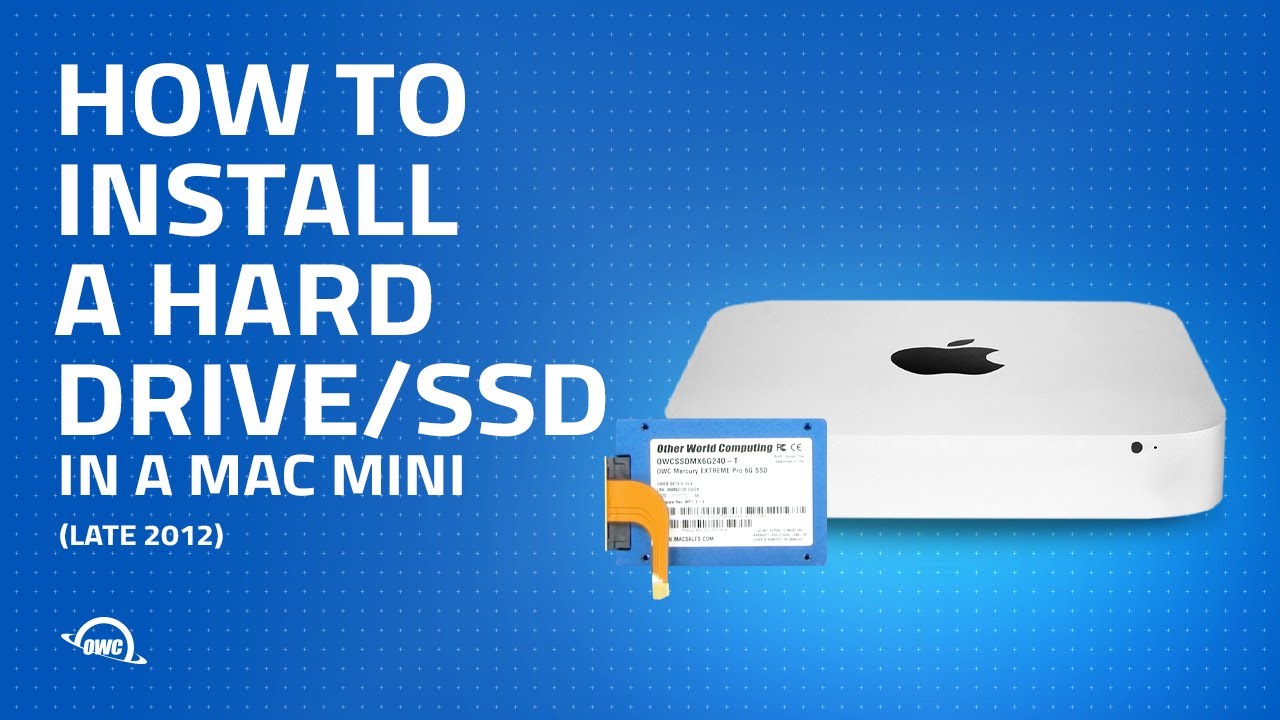
Mac Mini Late 2012 SSD Dual Drive Installation
Your Mac mini supports two hard drives—get the kit with the cable, hardware, and tools you need to make the upgrade. No need to pay the Apple premium for an expensive Mac mini server when you can do it yourself and save. Kit Contents. Your Mac mini supports two hard drives—get the cable and hardware you need to make the upgrade. Use the tip of a spudger to lift the IR sensor connector up and out of its socket on the logic board. To remove the logic board, the two cylindrical rods of the Mac Mini Logic Board Removal Tool must be inserted into the holes highlighted in red.
Inserting instruments into any logic board holes other than the ones highlighted in red may destroy the logic board.
Mac mini Dual Drive Kit
Insert the into the two holes highlighted in red. Be sure it makes contact with the top side of outer case below the logic board before proceeding. Carefully slide the logic board assembly out of the mini, minding any cables that may get caught. The following steps will guide you through installing a second hard drive in your Mini. In the next few steps you will be installing the grommets in the holes located along the brackets boxed in red.
- All replies.
- Introduction.
- .
While working from the inner side of the bracket, push the grommet through the hole in the side of the bracket. Be sure the grommet is seated nicely in the bracket as seen in the third picture. Repeat the process for the remaining three grommets on either sides of the brackets. The bracket with all four grommets installed should look like the bracket shown in this picture.
Apple Footer
Bend the ribbon cable along the dotted lines to help the connectors remain seated in their sockets. Bend the ribbon cable 90 degrees at the SSD connector so that it is parallel to the connector. Use the edge of the SSD connector to put a 45 degree downward bend in the cable along the first large dotted line. Hold the ribbon cable on either side of the first small dotted line and bend it up 90 degrees. Press the spacer onto the SSD as shown; proper orientation will ensure the spacer does not cover any screws or screw holes.
Attach the cable included in the kit to your second hard drive. In our case, we are using an SSD. If your cable came with a small piece of black tape with rounded corners, you can install it over the hard drive cable connector to to secure the connector to its socket on the hard drive. The piece of tape is not required and not installing it will have no adverse effects on your machine's performance. Before attaching the cable to your hard drive make sure it has been properly folded along the doted white lines.
This will help the cable attach and stay in-place. Did you format both drives as a Fusion setup or decide to keep the OS and apps on the SSD and your client and data files on the hard drive, which sounds like it would work better with less chance of loss of data? Dec 24, Having bought a late Mac Mini 6,2 i7 2.
I received both shipments on the same day and had all my new toys in front of me. This MacMini shipped with If anyone has a factory Fusion Drive could you please post the Link and Negotiated Speeds of both drives? Dec 25, 5: When i finished my installation and booted from external HDD.
Adding Second Hard Drive to Mac Mini | MacRumors Forums
When i tried Disk utility to have them formatted it asked me to fix and i did. I wasnt sure if thats how it was but i still went ahead with OWC procedure after it finished and it still showed as 1 Disk. More Less. Communities Contact Support.

Sign in. Browse Search.
Ask a question. User profile for user: Kelly Crossley Kelly Crossley. Desktops Speciality level out of ten: Reply I have this question too I have this question too Me too Me too.