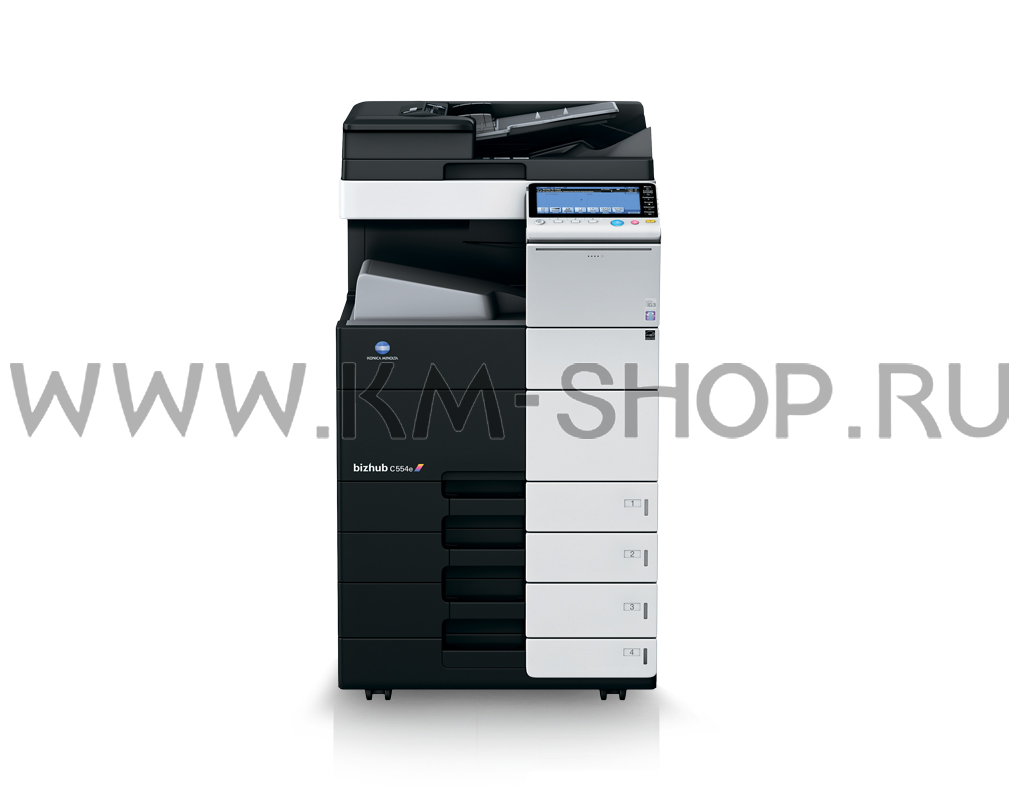
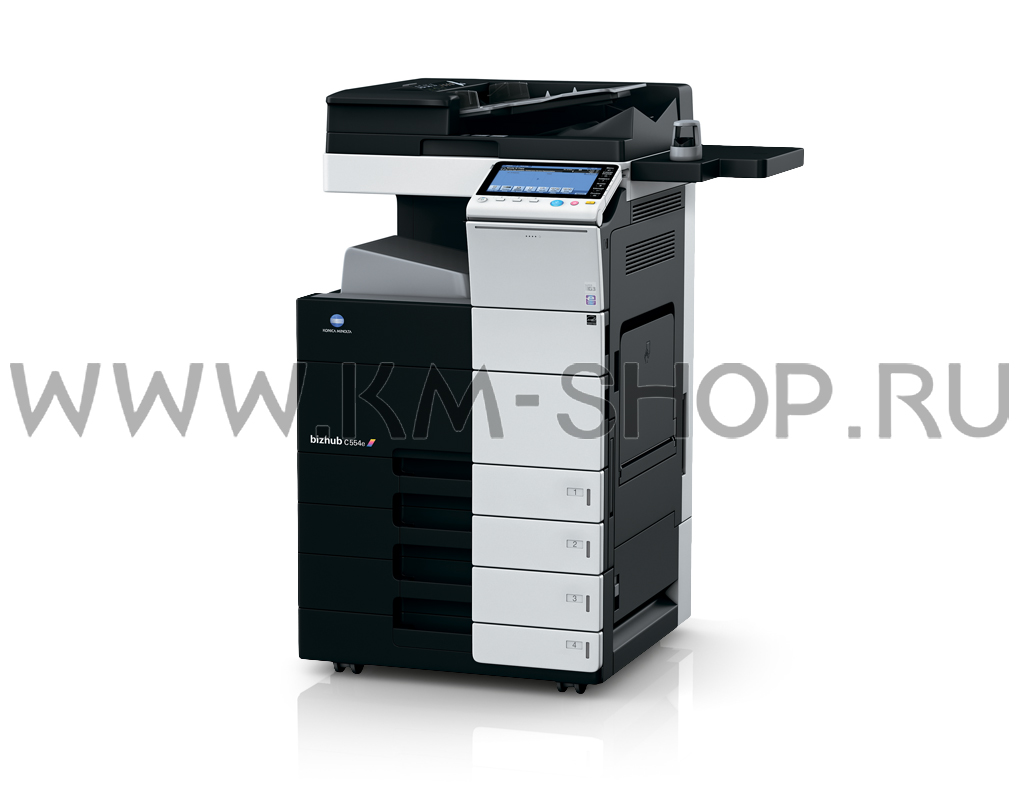
Konica minolta c554e driver mac
When the [Do not show this window when setting] check box is selected, this dialog box is not displayed next time. If you always use the same file name and box number, selecting this check box eliminates the need for entering them each time. For information on how to print data saved in a box, refer to Here. For information on how to send data saved in a box, refer to Here. However, if data is saved in a box while [Resolution: To send such data, set it to [dpi]. You can print the original image after it has been enlarged or reduced by the desired zoom ratio. In [Scale: In [Copies: When you print a large number of copies, use of the Proof Print function will prevent a large number of misprints being created, thereby reducing the amount of waste paper generated.
When multiple sets of copies are printed, the paper output position of each set is staggered to help you locate the first page of each set. When the [Collate] check box in [Output Method] is selected, copies are output in a set-by-set manner, for example, "Pages 1, 2, 3, 4, and 5" , "Pages 1, 2, 3, 4, and 5" , and then "Pages 1, 2, 3, 4, and 5". When the [Offset] check box is selected, the sets are output in staggered layers. When you select both [Collate] and [Offset] check boxes, the output position is staggered for each set, allowing you to easily prepare handouts.
The Proof Print function is used when printing multiple copies. It allows the printer to output one copy and pause the printing operation before printing the remaining copies. Because you can check the print result before starting printing the remaining copies from the Touch Panel , this function is helpful to prevent a lot of misprints.
In [Output Method: Only one copy is printed. Continue to "Operations on this machine". Tap [Job List].
While [Active] is displayed, tap [Release Held Jobs]. Select the job you want to print. A job, which has been sent to this machine with [Proof Print] enabled, can be deleted remotely using Web Connection via the Web browser of the computer. For information on how to access Web Connection, refer to Here. For details on how to login to the user mode, refer to Here. Click [Release Job]. Select the check box of the job to be deleted, and click [Delete].
Drivers & Download | Technical support - Konica Minolta
A special sized original is printed on custom sized paper loaded in the Bypass Tray. In [Paper Size: In Mac OS X If necessary, set the top, bottom, right, and left margins of the paper in [Non-Printable Area: This saves the custom paper size, which can be selected from the [Paper Size: To print on custom sized paper, use Bypass Tray.
For details on how to load paper into the Bypass Tray , refer to Here. In [Paper Type: This function is enabled when [Paper Tray: In [Paper Settings for Each Tray When you specify anything other than [Auto] in [Paper Tray: In [Paper Tray: If you select [Auto], the paper tray for the paper you have selected in [Paper Size: You can print the original on different sheets of paper loaded in multiple trays.
Because you can obtain printing results that look like carbon-copied slips using the print command once, this function is called Carbon Copy. For example, by using the print command once, you can print a submission document on high-quality color paper loaded in Tray 1 and print your copy on recycled paper loaded in Tray 2. This function is useful when you want to create a submission document and its copy at one time. Select the [Carbon Copy] check box. Specify the paper tray for carbon copies and output order, and click [OK]. Select the paper tray for carbon copies.
Select the check boxes for all paper trays to be used. Carbon copies are printed in order of selected trays. When an original of multiple pages is printed, all pages are printed on paper from one tray, then the next tray is used. Carbon copies are printed page by page. When an original of multiple pages is printed, each page is printed on paper from all the selected trays.
When the [Do not show this window when setting] check box is selected, this dialog box is not displayed when [Carbon Copy] is enabled. Using this function, you can save steps to configure settings the next time and after if you always specify the same carbon copy tray settings to execute a print job. Thick 3, Thick 3 Side 2. When printing data on banner paper, select a paper type appropriate to the banner paper using the printer driver.
Then, the [Paper Tray: Select [Allow], then tap [OK]. When a banner printing job is queued, the machine can receive the following print jobs, excluding banner printing jobs.
{{document.type}}
Printing from the computer: When a banner printing job is queued, the machine can receive the following fax jobs. The following jobs remain queued until a banner printing job is released. When a banner printing job is queued, the following operations cannot be carried out. In the [Page Setup] or [Paper Setup] window, open the window for registering a custom size. Specify the width and length as desired. Specify the paper size within the allowable range of the banner size Width: Specify the top, bottom, right, and left margins of the paper.
Check to see that the custom paper size registered in Step 8 is shown in the [Destination Paper Size] of [Paper Handling]. Check that [Paper Tray: If the [Paper Type: If the specified paper size is not in the allowable range of the banner size, [Paper Tray: In this case, check the setting of the custom paper size. A message appears on the Touch Panel to prompt you to load papers. For information on how to load banner paper into the Bypass Tray , refer to Here. When you have loaded a banner paper, tap [Complete].
Support & Downloads
Printing on the banner paper starts. Support the ejected banner paper by hand. To continue printing, execute printing from the computer. Tap [Exit]. A message confirming the end of banner printing is displayed. To terminate printing, tap [Yes]. Select colors for printing. There are three color modes: Select the optimum settings for the original to print it at the optimum image quality level.
Select one of the following processes according to the original to be printed; the process suitable for originals consisting primarily of text, the process suitable for photos, the process suitable for originals created with DTP, the process suitable for printing Web pages, or the process suitable for printing CAD data. In [Color Settings: Images are printed with a glossy finish. In [Quality], select the [Glossy Mode] check box. The generation of white space on the boundary between different colors or around characters is prevented.
Select the [Auto Trapping] check box to superimpose neighboring colors to print so as to prevent white space being generated around a picture. Configure the [Black Over Print: You can select whether to print black only around the characters or around both characters and figures. Selecting the [Toner Save] check box in [Quality] adjusts the printing density in order to save the amount of toner consumed. Sharpen the edges of images such as text in the table and graphics to improve legibility.
In [Quality], select the [Edge Enhancement] check box. Specify and print the ICC profiles registered in this machine with the printer driver. To use the new ICC profiles registered this machine, you need to add the ICC profiles to the printer driver in advance. In [Quality], click [Quality Adjustment Specify the settings for [RGB Color: To use the ICC profiles registered in this machine for printing, you need to add the ICC profiles to the printer driver in advance.
This function is available if the computer can communicate with this machine. The computer communicates with this machine and loads ICC profiles that the machine can use. This function is not available when the sandbox-compatible application is used in Mac OS X If the Download Manager bizhub has been installed and if you click [Download Manager], the Download Manager bizhub starts.
Select a color profile type from the drop-down list. Select the desired profile from the [Available Profile] list, then click [Add Sel]. To register the current driver settings as the profile, click [New], then enter the [File Name] and [Profile Name]. Each set of papers can be stapled at a corner or at two positions and output automatically. This function is useful for preparing a project proposal or other booklet materials.
In addition, specify the number and positions of staples. Printed sheets are punched for filing before they are output. This function is useful when you want to bind printed materials in files.
- microsoft equation editor 3.0 mac download.
- editing pdf documents on mac os x.
- mac bronzer soft sand review.
- mac lipstick for dark lips;
In addition, specify the number and positions of punch holes. To use the Punch function: When you want to fold page by page, specify the number of pages to be folded at one time in [Page Fold Setting: To use the Half-Fold function: To use the Tri-Fold function: To use the Z-Fold function: This function cannot be used on originals that contain more pages than the number of pages that can be folded by this machine. The pages in the original data are arranged and spread out in booklet format and printed on both sides of sheets.
When the printed sheets are stacked and folded in two, the pages are arranged in the correct order. For details on the Fold function, refer to Here. As the sheets are bound in the center, use the combined document data or set the [Print Type: In [Output Tray: If necessary, you can select the print position and format of the text.
As necessary, click [Settings You can add page numbers to your printouts. If necessary, you can select the print position and the page from which the page number printing starts. Specify the page number to be printed on the page specified in [Starting Page: Select this check box to print page numbers on the front and back covers when they are inserted.
In addition, select the format. You must register the information to be added for header and footer in advance to this machine.
Drivers & Downloads
For details on how to register the information to be added to the header and footer, refer to Here. Select this check box to print the copy number in the header. Select this check box to print the copy number in the footer. Specify the format for the copy numbers and the page from which the copy number printing starts.
You can insert cover sheets, which may be different from those used for the body, before the first page and after the end page of the original. The front and rear cover sheets can be a paper different from body pages in paper color and thickness. You can print them at a time. If necessary, you can select whether to print the original on the inserted sheets or to leave them blank.
When the inserted sheets are printed, the first page of the original is printed on the front cover and the last page of the original is printed on the back cover. In bizhub Ce , you can insert a sheet of the Post Inserter into the first page and the last page of the original as an outer front cover. These sheets of paper prevent the transparencies from sticking together due to heat generated after printing or static electricity. In [Select Color: You can select color paper and thick paper as paper to be inserted. You can also select whether to print the original on the inserted paper.
Create in advance a list that specifies the paper and print settings for each page. When printing on inserted paper, select the list you want to apply to printing. If nothing is registered in the list, selecting the [Per Page Setting: When you have already prepared a list, select the list you want to apply to printing. Create a list by specifying the paper and print settings for each page. These buttons move the order of settings in the list.
- ncaa football video game mac?
- Drivers & Downloads!
- how to open xml file on mac os x;
- mac os x mountain lion make command not found.
They do not change the settings. To specify multiple page numbers, separate each number with a comma for example, "2,4,6" or connect the numbers using a hyphen for example, "". The original image is enlarged, divided, and printed on multiple sheets. When you join the printed sheets together, a large poster is created. In [Poster Mode: For example, when you select [2 2], one page of the original image is enlarged, divided, and printed on four sheets.
The image is printed upside down. Use this function when printing on envelopes whose loading direction cannot be changed. You can fine tune the print position of the image upward, downward, rightward, and leftward with respect to the paper. When an image is printed on the back side, you can also fine tune its position. Javascript is disabled in this browser. This page requires Javascript. Modify your browser's settings to allow Javascript to execute. See your browser's documentation for specific instructions.
How Can We Assist You? Contact Us We are dedicated to providing you with the ultimate customer care experience. Account Self Service Activate and maintain your personalized customer portal, and other self-service options. Technical Support Choose the driver you need, or select from many other types of information specific to your machine.
Customer Resources Information to help you get the most out of your technology investment. Advanced Integration Solutions, apps and technology at your fingertips. Where To Buy Purchase printers directly from us or access our network of sales offices, dealers and authorized resellers.
Contact Us.