Run finder as root mac
- Post navigation!
- Top Rated Comments;
- Front Page Stories.
While you will now be able to view the files in the account, there are some limitations to this. The Finder is built so only one instance runs at a time, and as a result its interaction with the mouse when running in this manner has limitations, so while you can browse the files in the account, delete them, and rename them, there are some things you cannot do.
The main limitation is you will not be able to drag and drop files to organize them. However, to overcome this you can spawn another Finder window under the new account press Command-N with the current window open and then use keyboard commands to copy or move files, open them, rename them, or trash them.
Have a fix? Post them below or email us! How to set up Google's two-step verification: With a few minutes of setup time, your account will be much more secure. How to book an Uber or Lyft with Google Home: Use a Google Home and your phone to get the best ride. Be respectful, keep it civil and stay on topic.
10 Essential Tips for Using the macOS Finder More Efficiently
We delete comments that violate our policy , which we encourage you to read. Discussion threads can be closed at any time at our discretion. Don't show this again. Computers How to browse another account's files in OS X While you can use the Terminal to manage files in another user's account, you can also use the Finder to do so, without running into any permissions blocks. If you try to open a folder within another user's account, the Finder will give this error instead of providing options for authenticating as that user a potentially convenient feature that OS X has so far lacked.
Be sure to change the log-in window to show a name and password instead of a list of users.
How to browse another account's files in OS X Sign in to comment Be respectful, keep it civil and stay on topic. Next Article: Qualcomm already has a new 5G chip that promises sleeker, long-lasting phones. Having a separate desktop picture for the rootfinder keeps you from getting confused as to which finder you are in. But I was temted to try this one. All I want to add is that you can "kill" the RootFinder just by using the "alt, command,escape"- buttons, choose the RootFinter and select "Force Quit".
Then you are back in the normal Finder. To set up your computer to run two finders at the same time, one finder being the root finder, is easy. First you need to make a copy of the finder. Once you located the finder you need to duplicate it. Move the duplicated finder wherever you want it, rename it to something like "root finder", and change the icon.
Then put the new finder into the dock. This will allow you to switch back and fourth between finders. Next, download a program called Skeleton Key. It can be found at http: It will allow you to run the new finder as root. Put skeleton key into the dock.
Open a Finder Window with Root Access | Your Mac / Linux Guy
Then all you have to do is drag the new finders icon onto the Skeleton Key icon in the dock. Type in your administer username and password and there you go. You may want to change the root finders background so you don't get confused as to which finder you are using. Just close the windows to switch. It has the same properties as described above. My OSX Nope, still easy.
Using Mac OS I can do my switching through the command-option-esc force-quit window, and force-quit or relaunch finders as I like as I go.
Open a Finder Window with Root Access
It's easy. If you like, you can download tinker tool and add a Quit option to the finder in both your user and root accounts, it makes clean switching easier. Just quit the finder from the menu, then launch the root finder using the CLI line above. The reverse is easier, just quit the root finder from the menu, and launch the user finder from the dock. Have fun. At the terminal, type this command: Keep the Terminal window open while you do whatever Finder tasks you need to accomplish as root.
When you want to end the root Finder session, click back on the Terminal window and type ctrl-c. This will kill the root Finder session, and your normal user's Finder should re-launch itself. You can create a shell script to make this command easier to run in the future. Here's an very simple example bash script:. Now you can just start the Terminal and type rootfinder to run Finder as root. Again, leave the Terminal window open while you use Finder, and type ctrl-c in Terminal when you're ready to quit.
Lost your password? Powered by the Parse.
mac and linux tips/tricks/tools
More Mac Sites: Macworld MacUser iPhone Central. I highly recommend that you do not use a root-enabled GUI Finder unless you really really know what you're doing. It's easy to do Very Bad Things to your system without truly intending to do so. With that warning, this is actually a fairly interesting trick. Use at your own risk, of course! It's so cumbersome! There's a simple way around this, however.
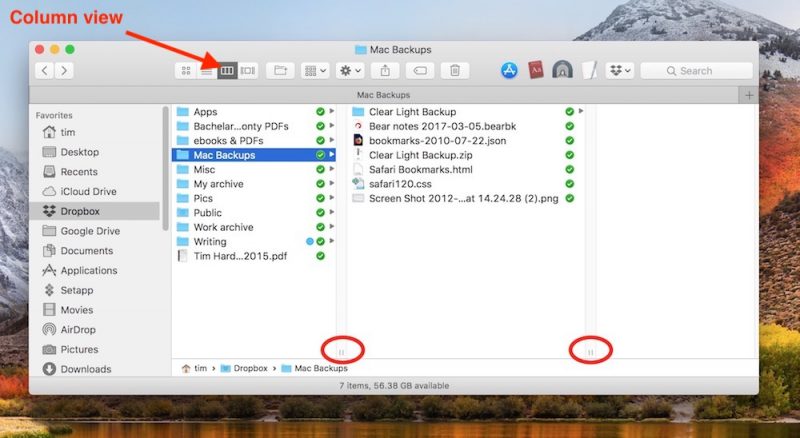
Read the rest of this article if you're interested in creating a root-access Finder. Open a Finder window in Column View. You'll see two Finders there.

Click on one of them just one click! If it doesn't, then that's the one you want. Option-drag it to the desktop because you want to duplicate it.
Now rename that app RootFinder or something. That's all the setup; the only part you have to repeat is from here on in.