Flir cloud for mac help
This one was at a major restaurant chain. What is more concerning for me is that there may very well be some RCE issues in these devices. We've already seen these things used in DDoS attacks. Given the right vuln, could one script this up and compromise the entirety of the FLIR Cloud in a night or two? I'm also worried about them being used as initial pivot points in more advanced attacks. At this point I began the disclosure process. I wish I could report that in , that this is always a routine and smooth process, and that the affected vendor is willing to quickly implement a fix.
They purport to have resolved item 1 but apparently had no intention of fixing their insecure cloud access by that date.
So here we are, over days later. I'm not sure exactly how their cloud works and they weren't exactly candid when dealing with me. I imagine someone with more time may take this farther. I found device IDs on the internet, picked one, tunneled into it, and was able to gain unauthorized access by exploiting a known Dahua issue. These devices support a maximum of 6 character passwords.
You should care because an attacker who has guessed or happened to view your device ID can build tunnels into your private network to attack weaknesses in your DVR's various interfaces. It sure looks like if if you watch their setup videos: The response looked like an authentication success message. The Windows Cloud Client had two similar executables. Both of these seemed to be affected by the same issue. I connected to a DVR at random on port Alright, there's the web interface on it. I'll try and retrieve the hash using the public PoC for that recent auth bypass.
Now I can just make a new tunnel to the video feed port, The way I saw it, there were at least two things wrong here: Dahua seemed aware of it so I wondered if the device I connected to was not patched, or possibly some version that FLIR didn't know was still vulnerable. Disclosure Timeline: Initial contact to support flir. FLIR responded asking details. FLIR acknowledged the details and asked for our disclosure timelines.
I responded and told him 90 days. I asked for a status update. I agreed to target August. After noticing a firmware push to my DVR, I again asked for a status update. FLIR responded explaining that the firmware should have fixed the issue. I told FLIR the network access was still vulnerable but the recent Dahua vulnerability appeared patched.
FLIR responded with new information about a two-phase remediation plan he had never mentioned. The first phase was fix the Dahua issue and within a few weeks they would fix the insecure Cloud access. I asked FLIR the following questions: How do you plan on fixing the tunnel authentication issue? When are you going to update your advisory, http: Which models did you roll that out for?
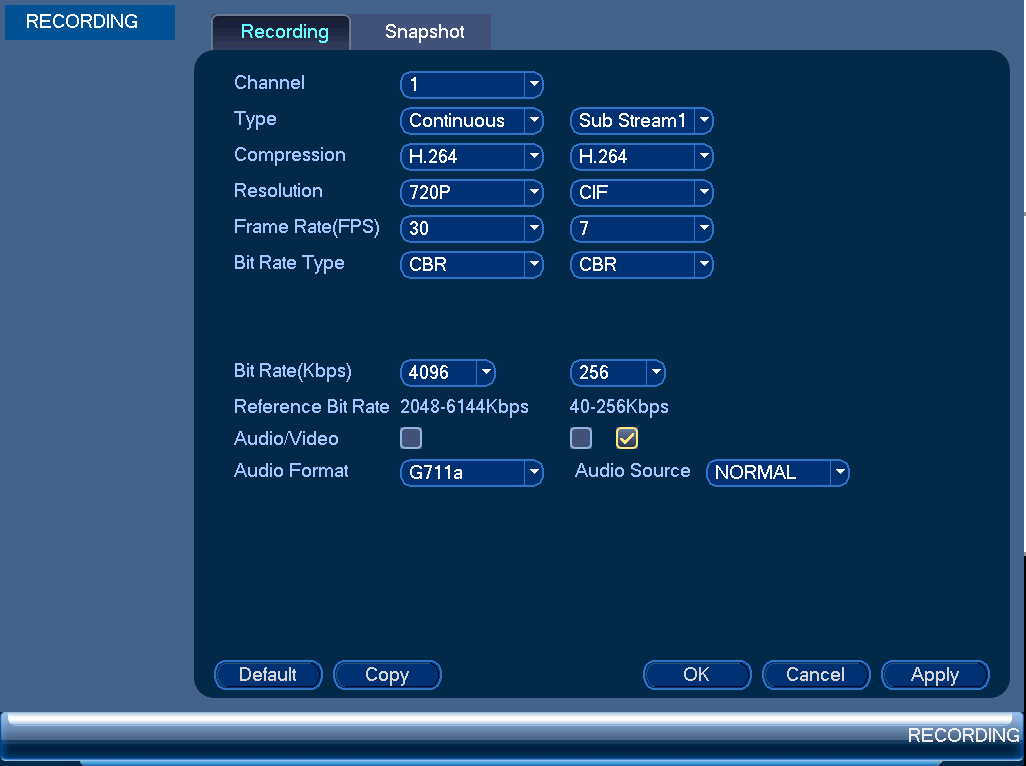
FLIR DNR500 Series
Do you intend to issue an advisory when you fix the tunneling authentication issue? Last response from FLIR: Have Questions? Shows systems that are connected to the same network as the computer where the client is installed. Once you connect to the system, it moves to the bottom of the screen. Refresh the list of systems connected to the network.
Add checked systems to the client software. Shows a list of systems connected to the client software, and shows which systems are online. Add Device: Delete the selected system. Import a list of systems from a saved. Export a list of currently connected systems to an. This is useful if you need to re-install the software or if you want to open the same list of systems on a different computer. Delete system. Edit the connection details for the system Device Config The Device Config menu allows you to remotely configure settings for connected systems. To access the Device Config menu: Click on a system in the device list to see the settings available for that system and then configure settings as needed.
The client software will alert you by popping up live video and playing sound alerts. Note Alarm upload must be enabled on the system in order for it to send the alarm to the client software. To create alarms: Click Add to create a new alarm. In the Alarm sources menu, you set up the parameters that trigger the alarm. Under Alarm Type, select the alarm type that will trigger an alarm.
For example, you can select Motion Detect for the alarm to be triggered by motion. Select the systems or channels you would like to trigger an alarm. Click Next. In the Alarm link menu, you set up the responses to alarms. Select the channels that will pop up or alarm out devices not included; not all systems support alarm out devices that will be triggered by an alarm.
For each channel selected, configure the following: Pop up a window with live video from the selected channel, like the one below. Record video from the selected channel. You may need to run the client software as admin to record. If you select a PTZ camera, you can select the preset that will be activated when an alarm occurs. Stay Time: Enter how many seconds the video window will stay open or record when an alarm occurs.
In the Period window, configure times the alarm will be activated. Click Confirm to save the alarm. Export current list of alarms as an xml file.
FLIR Cloud Client Software: Setup for PC or Mac
Import list of alarms. Delete selected alarm. Add new alarm. Click to delete alarm. You can also set up tours, which sets the client to automatically cycle through views. To start a tour: Click in Live View to start a tour.
Publisher's Description
To add views: Under Name, enter a name for your view. Under Stay Time, enter the number of seconds the view will be shown before the client switches to the next view. Select the split-screen mode you would like to use for the view and then click and drag channels to the empty grid areas to select channels to be shown in the view. Click Save to save the view. Or click Add More to save the view and create another view Account The Account menu is where you can set up user accounts and passwords for the client software. To simplify management, you can group user accounts according to role.
A role determines the permissions an individual user account can have. To access the account menu: Click and then click Managing User Accounts By default, the client software includes an admin account that has full access to all features of the software and all connected systems. You can add user accounts with customized levels of access. Note The admin account cannot be deleted. The default user name for the admin account is admin and the default password is admin. Configure the following settings for the user account: User Name: Enter a user name for the account.
Select the role for the user account. By default, the user account gains all the permissions of the role selected, but you can deactivate permissions as needed. Enter the password for the user account. Remarks Optional: Enter a text description of the user account. User Rights: Check the permissions that will apply to the user account. Click Save to create the account. To switch between user accounts: To modify a user account: Note Admin accounts with Account Setup permissions can change account passwords.
A user cannot change his own password. Click next to the user account you would like to modify. Edit the user account details and click Save. Click next to the user account you would like to delete. Click OK to confirm Managing Roles Roles make it easier to manage user accounts by determining the permissions an individual user account can have. By default, a new user account is given all the permissions of the role they are assigned to. To create a role: Click the Role tab. Configure the following settings for the role: Role Name: Enter a name for the role.
Enter a text description of the role. Role Rights: Check the permissions that will apply to user accounts assigned this role. To modify a role: Click next to the role you would like to modify. Edit the role details and click Save. Click next to the role you would like to delete. Click OK to confirm General The General menu is where you can configure application settings for the client software. To access the General menu: Click and then click Basic The Basic menu contains general settings for the client software.
The Basic menu contains the following settings: Log Saved Time: Select the number of days you would like the client to save log entries.
Instant Playback Time: Select the number of minutes the system will go back when you start an instant playback. Network Capability: Select the speed of your computer s network connection. Resume Live View State: Check for the client to resume live view when it starts up. The live view will open to the last view that you had open.
Auto login application: Check for the client to automatically login when it starts up without entering a user name or password. Auto Login Windows: Not supported. Select the language for the client software. Sync Time: Check to have the client software sync time with your computer s system time. Select the time the software will sync the time. Click Sync Now to manually sync the time.
- como ejetar cd do mac manualmente.
- Lorex Flir Cloud app stopped working.
- PoE HD Network Video Recorder.
Time Format: Select 12 Hour or 24 Hour time format. You must close the client and restart it to apply this setting. Note Click Save to save setting changes File The File menu allows you to select the folders where the client software will save downloaded video files and snapshots. Snapshot Path: Click Browse to select the default folder to save snapshots.
Record Path: Click Browse to select the default folder to save video recordings. Config Path: Click Browse to select the folder where the client will save software config files. Note Click Save to save setting changes. You may need to run the client software as admin to save files to enable snapshot or video recording Alarm Prompt The Alarm Prompt menu allows you to configure audio alerts. The client will play audio alerts when events occur. You can replace the default sounds with any. The Alarm Prompt menu has the following options: Open Audio: Check to enable audio alerts.
Check to repeat audio alerts until acknowledged. Camera Masking: Select or preview the sound that will play for camera masking alarms. Motion Detect: Select or preview the sound that will play for motion detection. Central Monitoring System Software System Requirements Your system must meet the system requirements. Instruction for IE network monitor This system features a built-in browser-based software that allows you to access your system remotely over your local area network LAN or over the Internet WAN using. System requirement and executing environment Supported operating System Hardware requirement recommend NetClient software user manual General information Net Client is an application which provides users not only viewing and controling remote DVRs, but also receiving realtime event data or alarm signals.
Appendix A. Table of Contents Chapter 1. User Interface Overview Version Pro Monitoring System 1. Release Date: Bookmark not defined. Network Video Monitor Software V1. L20WD Series www. This manual applies to ivms Windows Mobile mobile client software, please read it carefully. User Manual V1. The information in this manual was current when published. The manufacturer reserves the right to revise and improve its products. All specifications are therefore subject to change.
KViewCenter Interface Log in Log out Control Panel Control Panel Preview. Starting ivms User Manual ivms Client Software Version 1. Pro Surveillance System 4. If there is any question or request, please do not hesitate to contact the dealer. This manual applies to ivms Contents 3 Contents 1 1 Introduction It has an embedded. No part of this document may be reproduced, republished, or retransmitted in any form or by any means whatsoever,.
It provides the functionalities of live view, playback, log management, and configuration, etc.
DNR Series | FLIR Systems
This instruction is written. Starting CMS Client Network Video Monitor Software V2. User Guide Version 2. Getting Started This manual applies to ivms Android mobile client software, please read it carefully for the better. What is my ID and password? Have the. This manual applies to ivms iphone mobile client software, please read it carefully for the better. User Manual V2. This manual applies to Local Playback software, please read it carefully for the better use of this software.
The contents in this manual are subject. INDEX 1. Index 01 2. Introduction 02 3. Installation 03 4. Using Multi. This manual applies to ADTVision ios mobile client software, please read it carefully for the better use. It can keep an. All of our products are backed by a conditional service warranty.
Packages Contents Hardware Features Functional Features Light Version EMS Overview Device Manager EMS Log Micro Digital CMS Manual Micro Digital Preface The user who installs and operates the product should be aware of this manual and other manuals referred to by this manual before installation and operation. All rights reserved.
The information presented is subject to change without notice. Users use this software to monitor real-time Camera,. A brand that is integrated into Samsung s network products, stands for a convenient world Polis made safe Polis through Samsung s superior network performance Internet protocol. With products, clear. Table of Contents Manual Overview D-Link reserves the right to revise this publication and to make changes in the content hereof without obligation to notify any person or organization of such revisions.
Software Installation Software Upgrade This manual applies to ivms Android V3. Overview 2. Main Menu Layout 3. This manual applies to ivms Android Tablet mobile client software; please read it carefully. Save this manual for future use. This quick start guide will help you become familiar with our DVR in a very short time.
Before installation and. Software Manual Contents 1 Software Installation RAIDiator 4. All rights reserved No part of this publication. Log in Registration. Search for. Start display at page:. Todd Burke 3 years ago Views: View more. Similar documents. Central Monitoring System Software 1. More information. System Requirements Your system must meet the system requirements More information.
Multi-Site Remote Viewing Software. Version 2. Instruction for IE network monitor Instruction for IE network monitor This system features a built-in browser-based software that allows you to access your system remotely over your local area network LAN or over the Internet WAN using More information. NetClient software user manual NetClient software user manual General information Net Client is an application which provides users not only viewing and controling remote DVRs, but also receiving realtime event data or alarm signals More information.
User s Manual. PowerVideo Plus. EverFocus Central Management Software. All More information. This manual applies to ivms Windows Mobile mobile client software, please read it carefully More information. CMS Pro. Remote Software User Manual V1. All specifications are therefore subject to change More information. Control Panel Preview More information.
Quick-Start Guide. User Manual ivms Client Software. Version 1. This manual applies to ivms More information. IP Camera Centralization Management. Client Application. It has an embedded More information. No part of this document may be reproduced, republished, or retransmitted in any form or by any means whatsoever, More information. This instruction is written More information. Professional Central Monitoring Software. CMS Client Software. This manual applies to ivms Android mobile client software, please read it carefully for the better More information. Have the More information. This manual applies to ivms iphone mobile client software, please read it carefully for the better More information.
Save More information. The contents in this manual are subject More information. Using Multi More information. This manual applies to ADTVision ios mobile client software, please read it carefully for the better use More information. You need to configure some cameras in this software, select Camera List menu in main GUI, and add some camera to camera list.
It can keep an More information. Stand Alone Type.